If you make videos for more than one place, you know the maths. A talking-head clip for the feed, the same moment again for the channel, and a third pass to stitch a reaction into the corner. Most of that work exists because phones record one camera into one file. Dual Recorder was built to remove it: both iPhone cameras run at once, and one take can leave you with the combined video, a clean video from each camera, or all three. Here is how to get the most out of that, and what to save when.
How recording with two cameras works on iPhone
Since the iPhone XS and XR, iOS can run two cameras at the same time through Apple’s multi-camera capture. The catch is the budget: two sensors share one image pipeline, so the phone picks a quality both lenses can sustain together rather than the maximum either could reach alone. Dual Recorder reads that budget for you. Ask for 4K and the settings screen tells you what the two-camera mode really records, instead of pretending. Single-camera mode keeps the full 4K 60 fps.
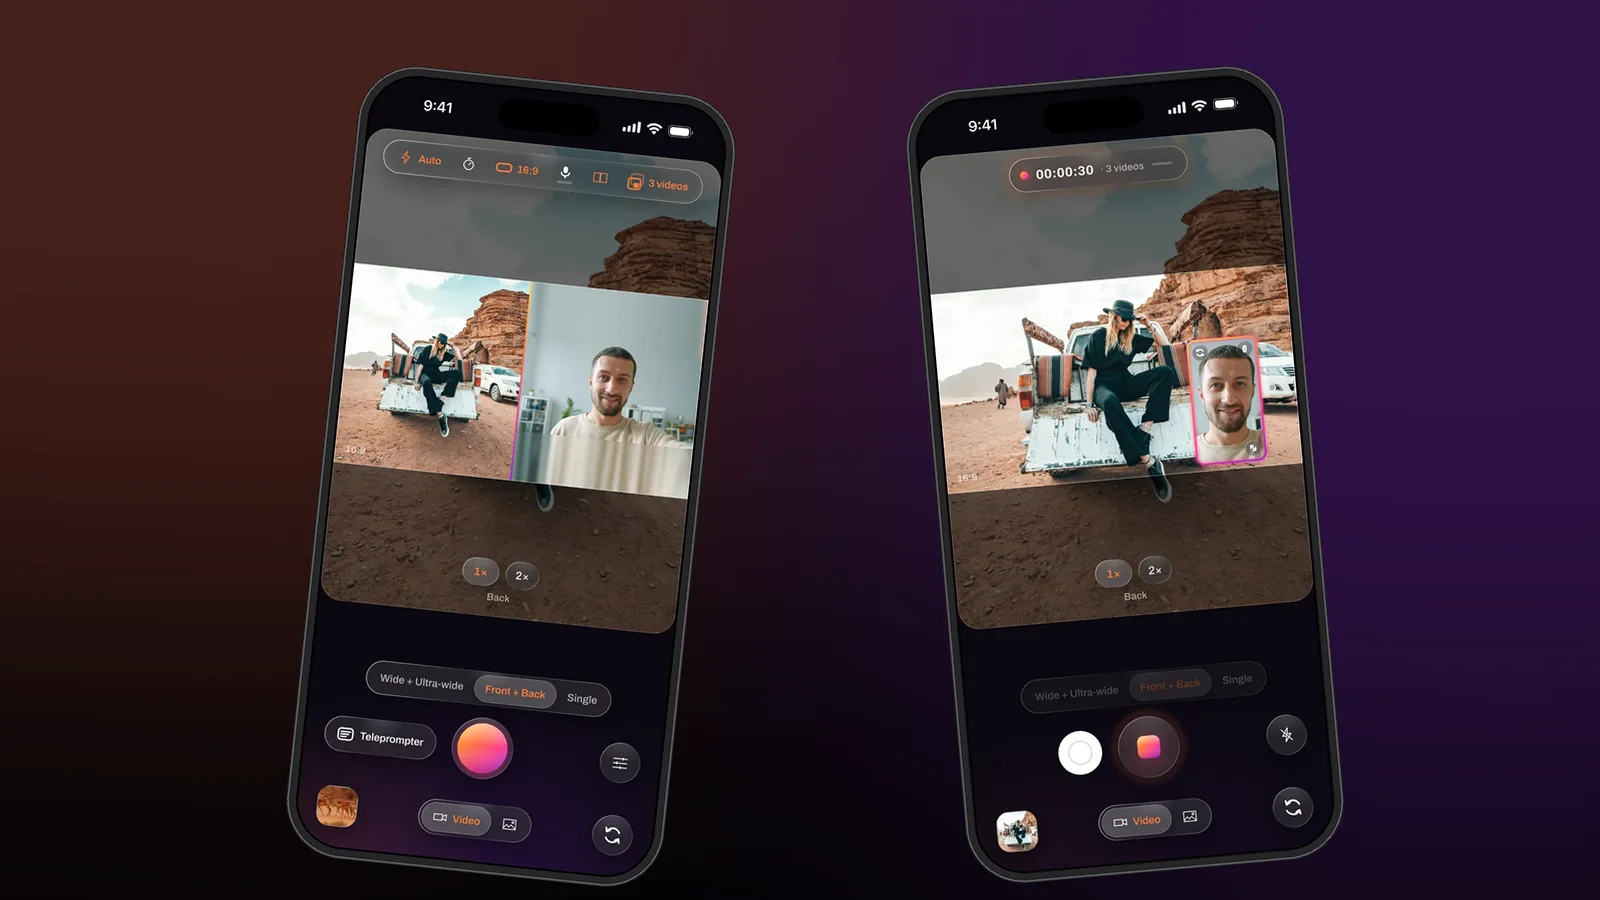
Three combinations are on the mode pill: Me + View (you and what you are looking at), Two angles (two angles of the same scene from the back camera), and Single (a plain one-camera recorder with the same controls).
The one decision that matters: what to save
Before you record, the capsule at the top of the camera has a segment called Videos to save. It is the most important control in the app, and it only appears in the two-camera modes.
- Combined saves one video with the second camera in its window or split, exactly as you saw it while recording. Fastest to post, nothing to edit.
- Separate saves a clean video from each camera, no window. Both start at the same instant and share one size, so they drop onto two tracks of any editor already aligned.
- Both saves all three. Post the combined one today, keep the clean ones for a longer cut later.
Rule of thumb: if there is any chance you will re-edit the moment, choose Both. A Combined-only take cannot be rearranged afterwards, because the clean feeds were never written. The app says so in plain words the first time you pick it.
Pick the layout for the video you are making
The window is the classic picture-in-picture: drag it anywhere, pull its corner to resize, tap its arrows to swap which camera is large. Every change you make while recording is written into the combined video live. For a reaction or a vlog where the scene matters more than your face, keep the window small in a corner. For a tutorial where your face carries the explanation, swap so you are the main image and the demonstration sits in the window.
The splits give both cameras equal weight. Side by side suits two people or a product next to its presenter. Over / under is made for vertical video, where two landscape strips stack neatly into a 9:16 frame. Diagonal is the same idea with a slanted seam that feels less like a spreadsheet. Drag the seam to change the balance; each camera keeps its own zoom.
Portrait or landscape, decided before you press record
The Video shape control sets the frame: 9:16 for Shorts, Reels and TikTok, 16:9 for YouTube, 1:1 for square placements, or 4:3 for the whole sensor. A bright band on the preview shows exactly what ends up in the file, so you compose for the shape you are actually going to post. Recording 4:3 and cropping later in the editor is a fine plan too; it keeps both options open at the cost of a little resolution.
Small things that make a two-camera take better
- Light your face, not the scene. The front camera has the smaller sensor. Face a window or a lamp and let the back camera handle the room.
- Check the meter. The microphone segment in the capsule shows the sound level before you commit. If you use an external mic, pick it under Settings → Microphone.
- Leave headroom. In a split, each camera fills half the frame with a centre crop. Keep your head away from the edge of the preview and it will survive the crop.
- Grab stills as you go. The white shutter next to the record button takes a photo without stopping the take. It comes out in the take’s own layout.
- Use the volume buttons. They start and stop recording, which is easier than reaching for the screen when the phone is on a tripod.
After the take
Every video of a take stays together in the library as one tile, with its size and a star for the keepers. Open it in the editor to trim once and export the files you want, switch between the combined and the per-camera videos, or open the Layout tool to rebuild the combined video in a different arrangement, which works for any take that saved the clean feeds. Exporting to Photos is free in HD with a small watermark; Dual Recorder PRO exports at full size with no watermark.
Dual Recorder: Dual Camera is available now on the App Store for iPhone. If you have a use we have not thought of, tell us at support@evokey.tech.